Telstar

Telstar
Showing posts with label BBS LM's. Show all posts

Tuesday, 31 March 2020

Sunfire Red over Metallic Grey

To begin with, this update is a little out of date. Moving interstate and dealing with the issues of finding a house, settling kids and so on, meant that I haven't put the time in to keep it up to date. So lets take a step back in time.


The prep work was completed and the car was fully primed. Many hours were spent wet sanding the body and all bolt on bits, to ensure good adhesion of the fresh 2pac paint.


The car was wheeled into the booth, taped up, prep-washed and tack ragged ready to receive it's new paint. I couldn't believe it, after so many years, it was finally getting painted!


The paint purchased was Metalux and the colour chosen was off the original paint code MF. Sunfire Red, over metallic grey, with Clear top coat. Off the gun and still in the booth, the car looked amazing! The car was baked at 60 degrees before it was ready to be taken back to the shop for reassembly.


Fast Forward and it was 3 years since the Telstar had it's refresh of paint and the car was back sitting in my garage. Essentially it hadn't been touched due to work, family commitment and other projects. Thinking back to when it was painted, it looked fantastic in the booth, but there was some issues. Orange peel, dust and some minor adhesion issues, due to the repair and priming of the Uber rare USC fibreglass parts.

The whole car was flat sanded with 1500, 2000, then 2500 grit paper. Now I wish I had of gone down to 3000 grit to really remove some of those scratches, but for now we'll put that down as a lesson learnt..

Stay tuned for polishing updates!


Saturday, 14 November 2015

Panel and Paint - update

Just a quick update.

Last week I dropped the car off to a friend's shop to continue prepping for paint. Today I finished off the strip down before it receives primer. The bumpers, handles, lights, and trims were removed and the double sided tape from the trims removed with a caramel wheel.

I kinda like the look of the side shirt and rear door pod without the door trims in place.


Tuesday, 26 May 2015

Ksport Coilover installation

Once my coilovers had arrived, i was a little disappointed that the rear coilovers had rubber bushed solid strut mounts instead of adjustable camber plates. Rear camber can still be adjusted via the lower hub mounts.


After a bit of research, I had learnt that S13 silvia front camber plates shared the same upper stud mounting and in the correct orientation. I went on the hunt to find some camber plates to convert my new coilovers.


 I found a pair of adjudtable ISC camber plates for $40, the only issue was that the centre hole in the spherical bearing was 18mm instead of 14mm. I considered sleaving the bearing, but changed my mind once I found the bearings to be seized. The other issue is that I didn't have a suitable upper spring perch.


I happened to have some old D2 front coilovers which I was able to use the 14mm spherical bearing and upper spring perch with the Ksport coilover and ISC camber plate. The orange plate is Ksport, the purple is the D2's and the yellow is the ISC camber plate.


Adding the spherical bearing and spring perch resulted in the upper spring mount now being 15mm lower than with the solid aluminum top mount. To ensure the spring preload remained the same, the lower mount was moved 15mm lower.


Once they were all back together, it was time to install them into the car. The car was jacked into the air and placed on chassis stands.


Whilst in the air, it gave me an opportunity to check out the 26 year old sills and underside. The sills, lower pinch rails and  jacking points were in perfect condition. The inner guards and rails were also in excellent condition with no signs of damage, rust or repair. I also found that the rear jacking point has a sturdy brace behind the pinch rail which matched the profile of my chassis stands. 

Removing the original struts was straight forward and pain free. Almost every bolt looked untouched and was easy to remove. the Ksports were fitted up to the with guestimated height and camber settings. Once the car was on the ground with the BBS LM's trial fitted, it was looking great, however the car was way too low.


I've since made height adjustments twice. Measure the current and desired ride height and calculate the required hub mount change. Very much a calculated trial and error technique, but it does work.
 

I took the car for a spin around the block and the ride is fantastic. I can't wait to take it for a spirited drive.

Tuesday, 18 November 2014

BBS LM's (part one)


BBS LM's are my all time favourite wheels. Polished lips, mesh centred design. Lightweight 3 piece construction with forged centres. Traditional colours were Silver and Gold, but later White and Black were introduced. Available with either a Red centre cap with gold writing or Black with silver writing. Drenched in Motorsport Pedigree. I am yet to see a car with these that doesn't look good.

I must have them.

Now I've got that out of the way, A good mate of mine Aaron, runs one of the countries biggest Automotive Parts (and cars) Importing Businesses. Import Monster. I have been using his services for bringing in all kinds of JDM goodness, such as 2 cars and many, many parts for near on 10 years.


 I spoke recently to Aaron about my need for LM's on the Telstar. It wasn't met with laughter, but more an enthusiastic encouragement. Aaron happened to have 2 pairs in the shop, not matching but it was a good starting point of 18 x 8 +35 and 18 x 8 +40. I've run rims in the past on my cars with 8 +35 which has been a near perfect fitment. No poke and some (think millimeters) clearance to the strut/coilover body. The 40's would foul the rear struts with a standard brake setup, but that's another topic for another time.


I was teased with a few pics of the mismatched set and a question of whether I wanted to take them as they were or have them refurbished. They had to be refurbished, they had different coloured centres and one barrel needed to be rolled. The biggest problem I had was deciding on the colour of the centres, Silver or Gold. I did a couple of Mock ups in Photoshop and decided on the Gold centres.

Photoshop Mockup; Lowered with Gold BBS LM's

Photoshop Mockup; Lowered with Silver BBS LM's
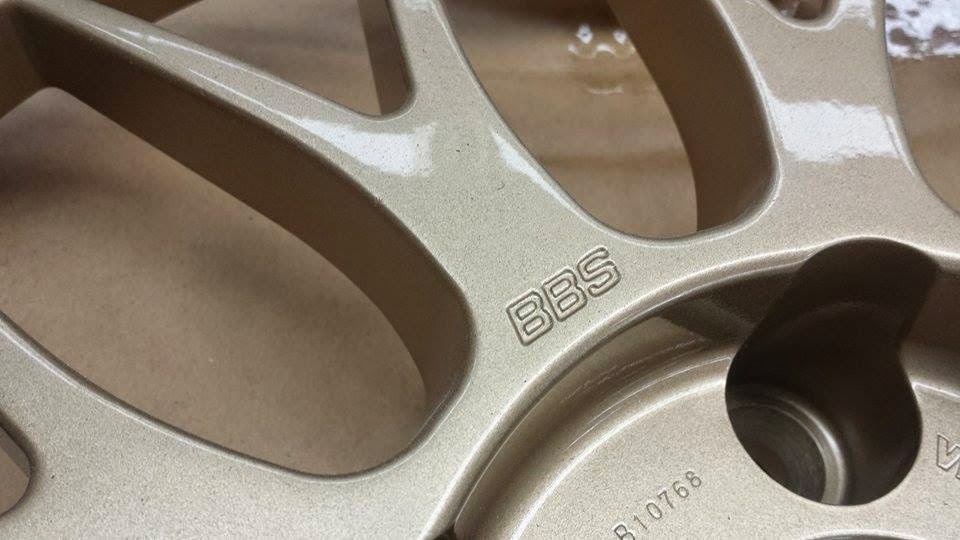
I was concerned that the Gold would come out too Yellow, like the gold on Simmons B45's. After a few weeks my concerns were settled with some fresh from paint pics. The colour was spot on, the finish looked brilliant and I was excited.


Late last week, I received some more pics after a lengthy delay caused by the wheel refurb guy. He had rolled the barrels and lips true, but had not repaired the gutter rash on the lips before polishing. Once the barrels and the nuts were finally returned to Aaron and his crew, assembly was completed. I was again treated to some more pics of how my wheels were coming along. Action photos as well as completed and ready to send out pics. Happy Days!


Now I need to sort out shipping and fit them up to the car!

Stay tuned.